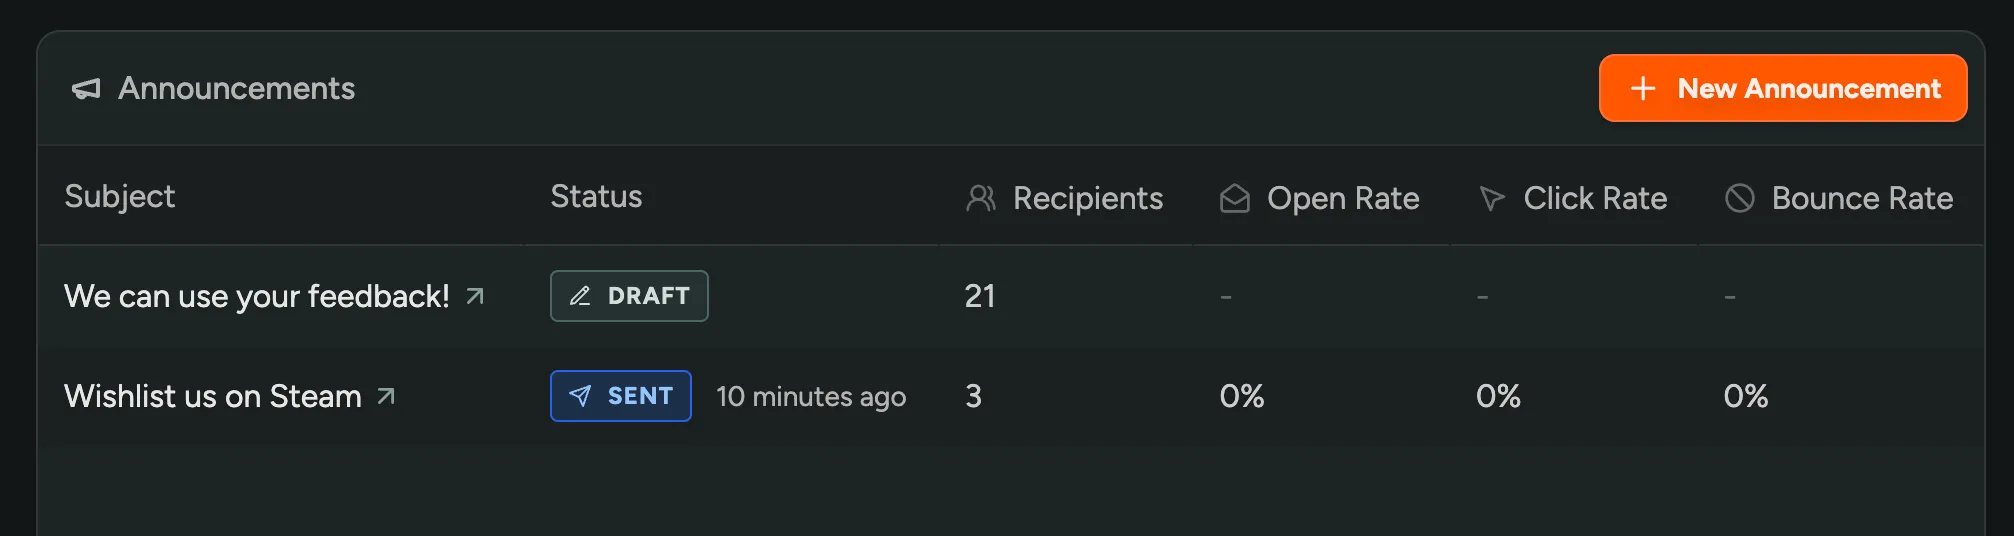
Email Announcements
Email announcements are a simple way to keep your players informed about new features, upcoming tests, or important updates.
Creating an Announcement
Section titled “Creating an Announcement”- Navigate to the Announcements page.
- Click the “Create Announcement” button.
- Start drafting your message.
Filter Recipients
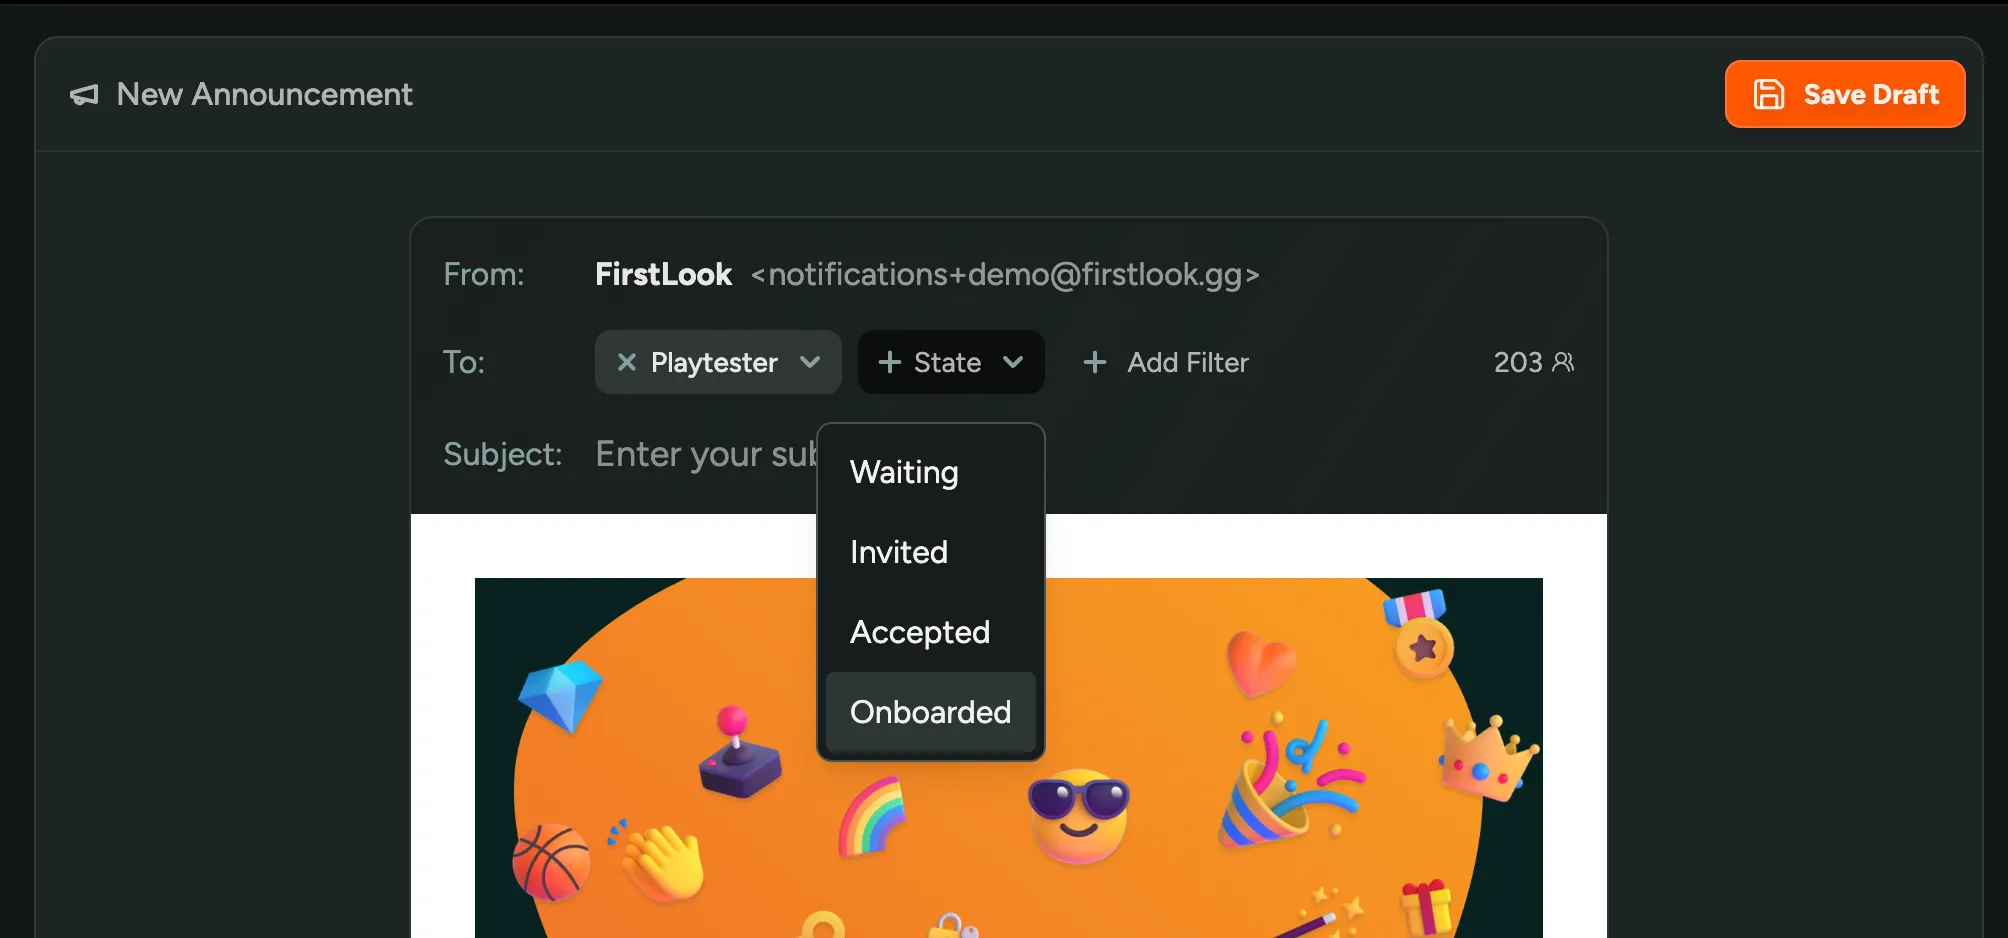
Section titled “Filter Recipients”You can refine your audience by filtering for specific roles, statuses, or metrics. By default, players with invalid email addresses or who have opted out of notifications are excluded.
Example filters:
status: invited— remind invited players to accept their invitations.role: playtester AND status: onboarded— reach players who are ready to test.steam: playtime > 30— target engaged players who’ve played for 30+ minutes.
A live preview to the right of the filter field shows how many recipients match your criteria.
Writing Your Announcement
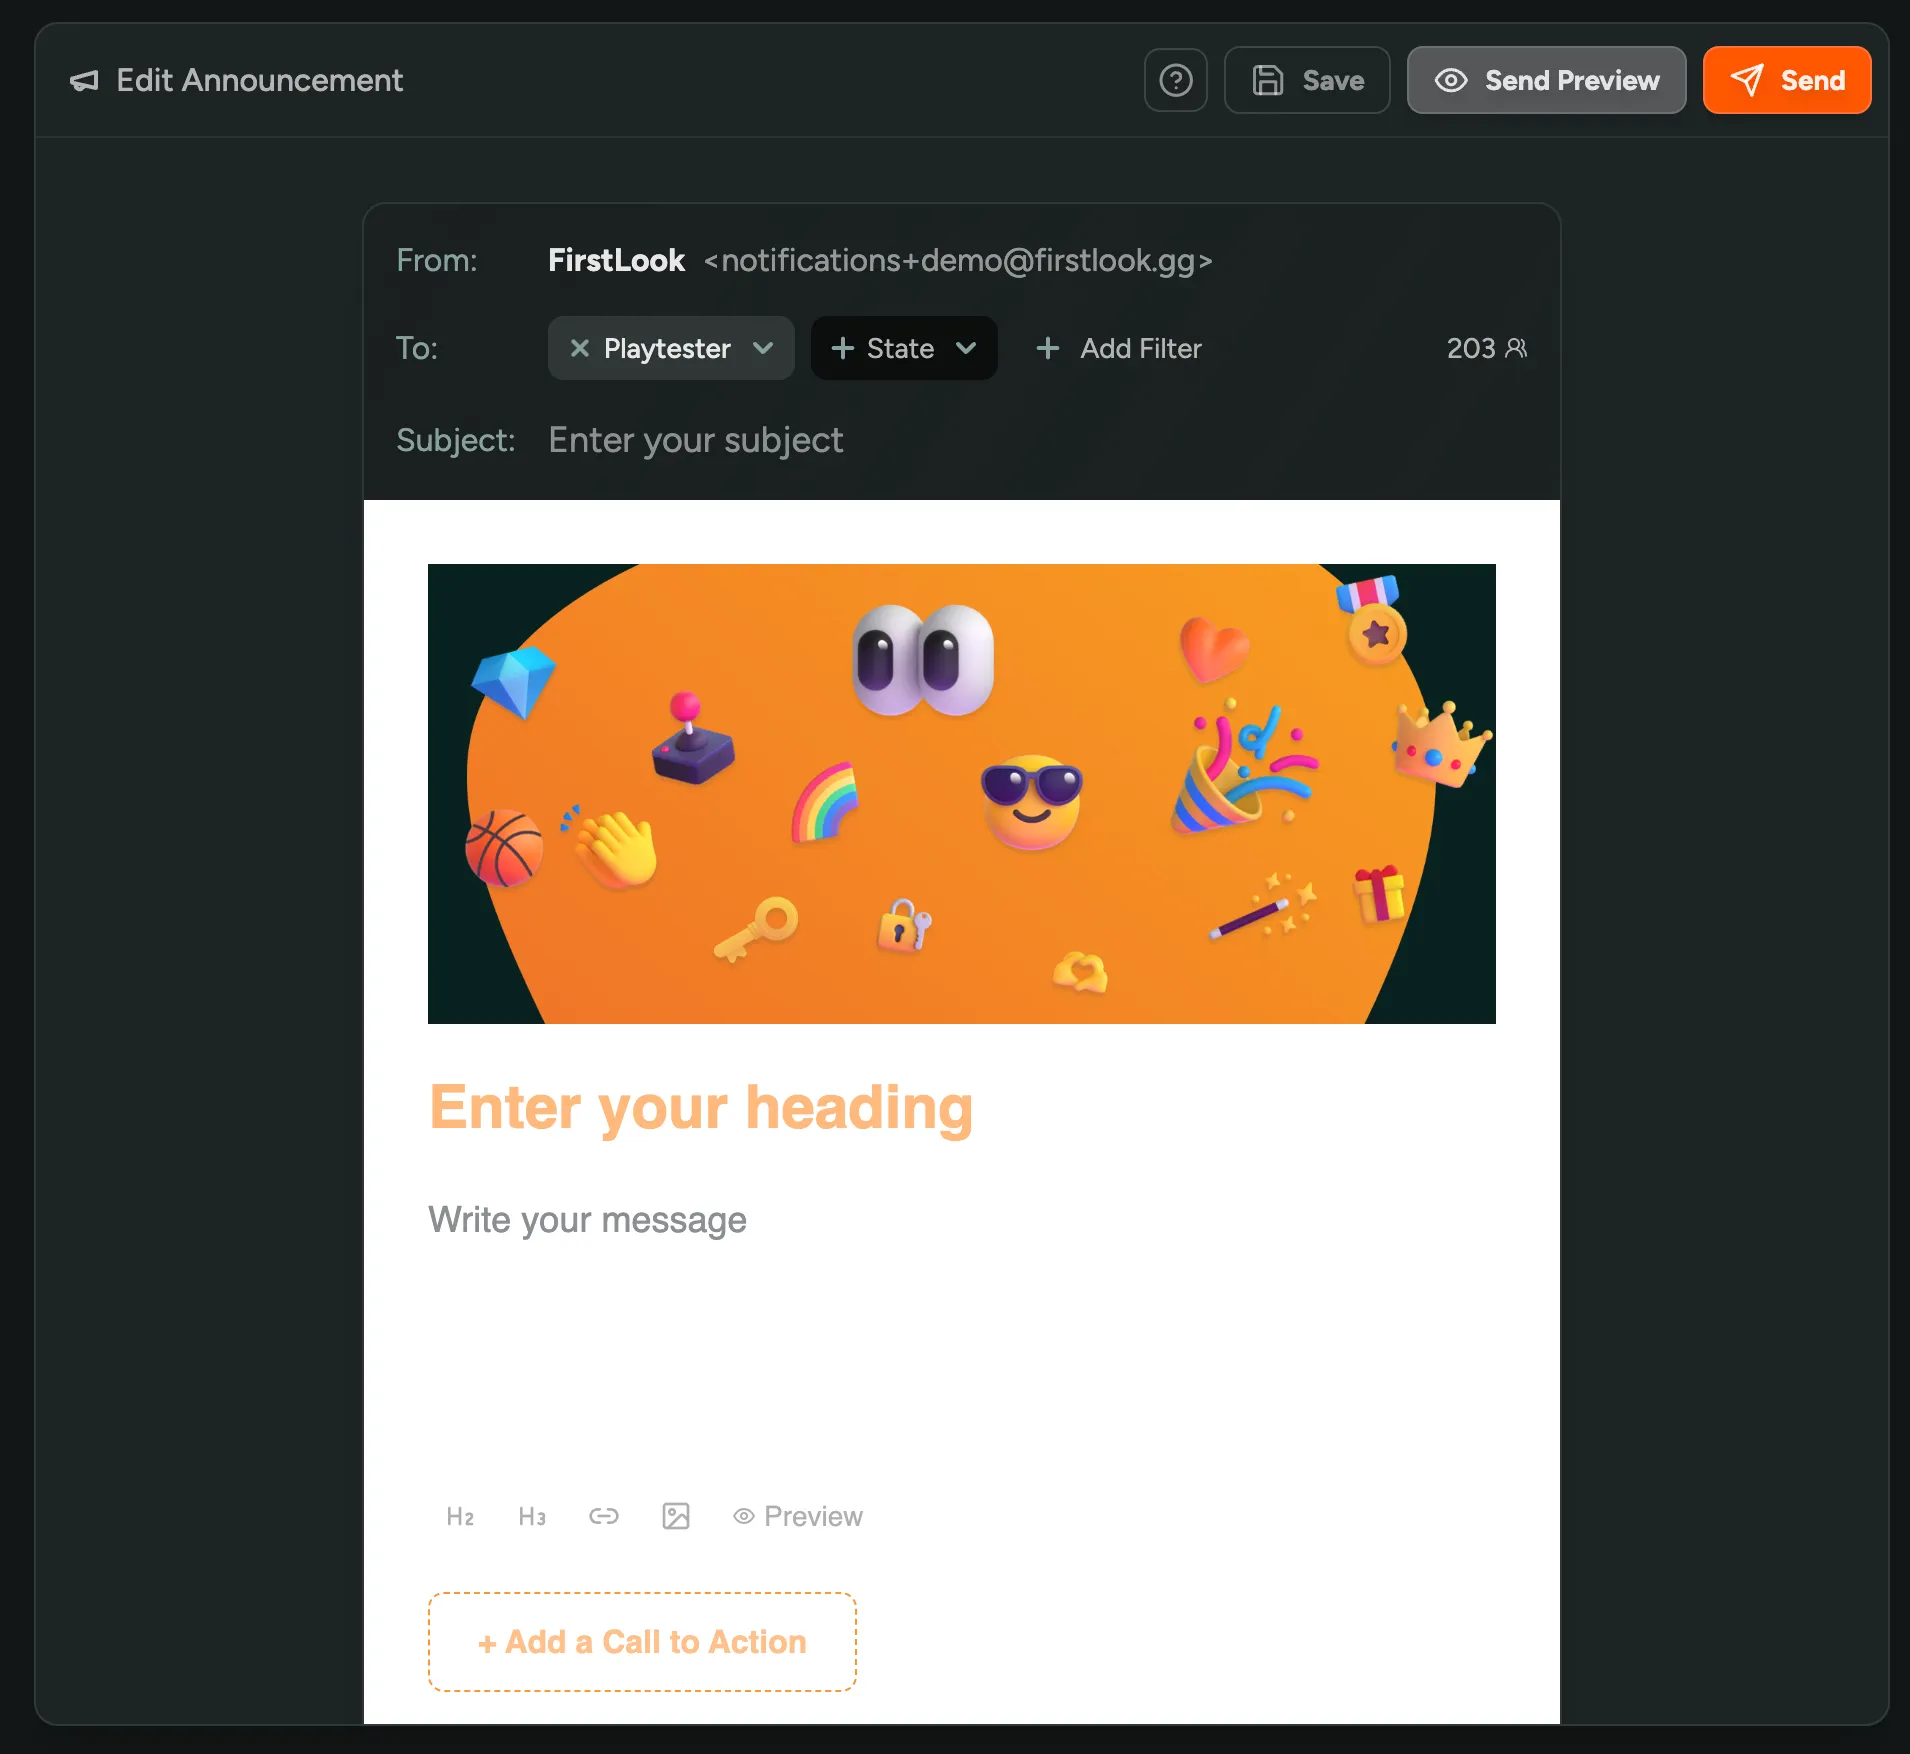
Section titled “Writing Your Announcement”FirstLook supports some basic formatting options to help you create beautiful announcements with minimal effort.
Subject, Heading, and Footer
Section titled “Subject, Heading, and Footer”- Your subject line is what players see in their inbox — keep it short and enticing.
- Your heading appears at the top of the email body.
- Your email header will default to what you have configured in branding, but can be customised for each announcement.
- The footer is also configured in branding
Markdown Formatting
Section titled “Markdown Formatting”You can use Markdown to format your announcement.
Variables
Section titled “Variables”There are some variables you can use in your announcement subject and body, by using the {{ variable }} syntax.
| Variable | Description |
|---|---|
{{ player.first_name }} | Player’s first name |
{{ player.last_name }} | Player’s last name |
{{ player.full_name }} | Player’s full name |
{{ player.email }} | Player’s email |
{{ player.login_url }} | Player’s login URL |
{{ game.name }} | Game’s name |
{{ game.slug }} | Game’s slug |
{{ studio.name }} | Studio’s name |
{{ keys.identifier }} | Allows key as merge tag - Use your specific key type identifier |
If there’s no Player First Name set, we’ll render there instead.
So you can write Hi {{ player.first_name }}!, which will render Hi there! or Hi Bob!.
Or alternatively, you can specify a default value to use if the variable is not set with Hi {{ fallback player.first_name 'alien' }}!, which will render Hi alien! or Hi Bob!.
Call to Action
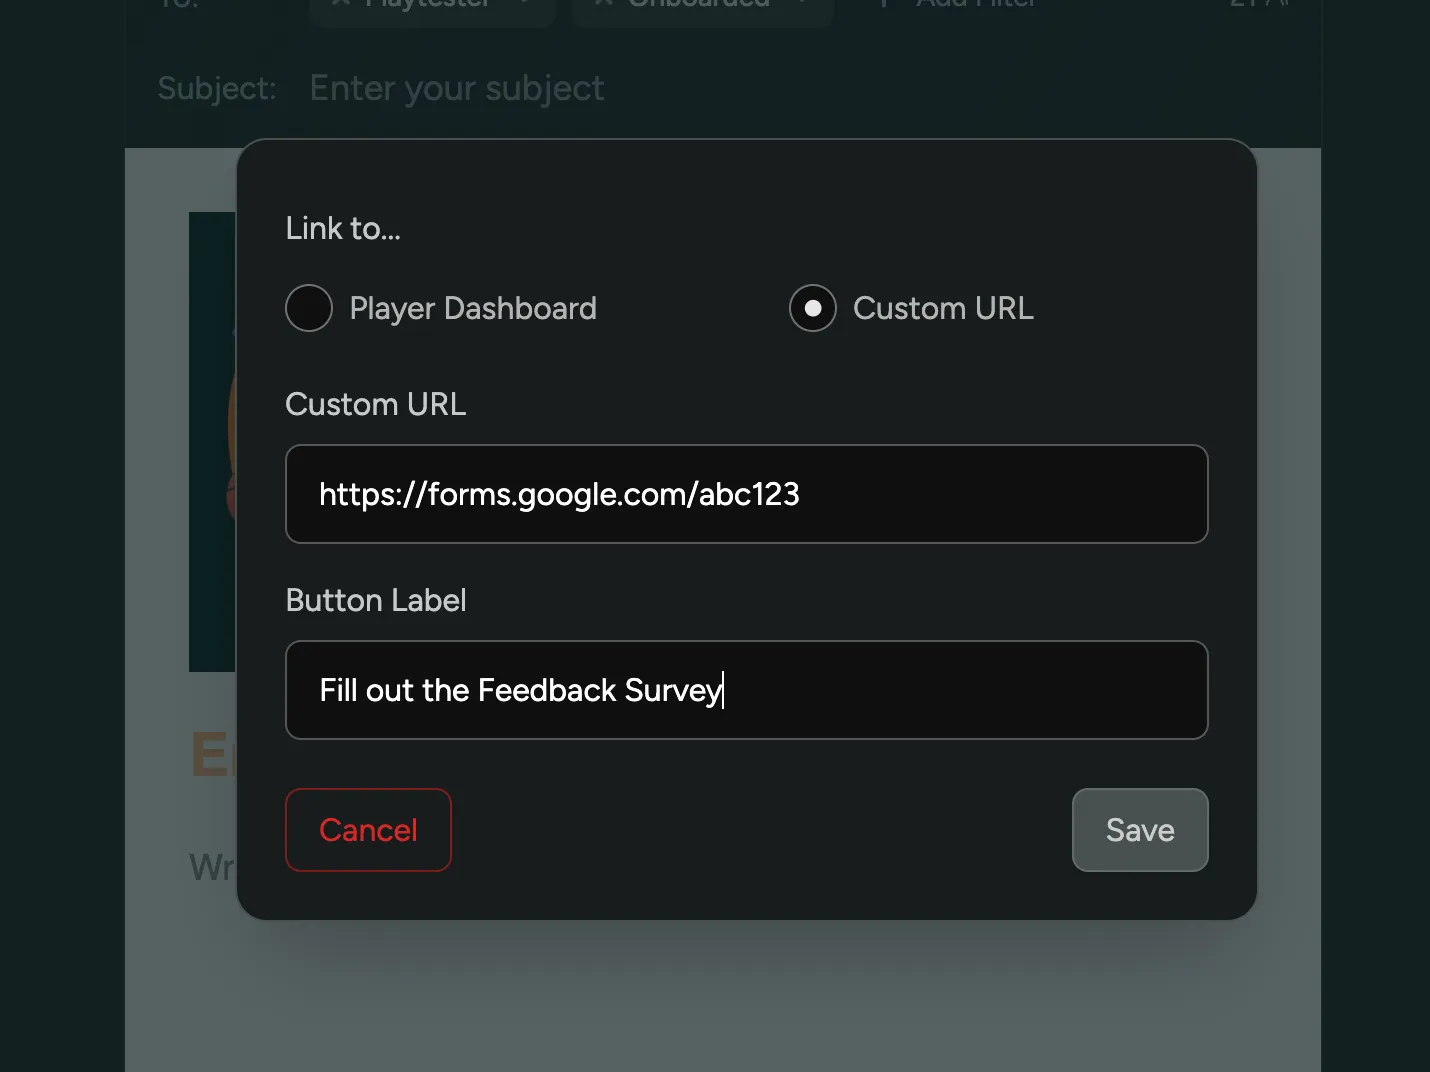
Section titled “Call to Action”Add an optional Call to Action (CTA) button at the bottom of your email.
Choose from:
- Player Dashboard — automatically includes a personalized login link.
- Custom URL — link to any webpage of your choice.
Branding
Section titled “Branding”Customize the look of your announcement emails in the Branding Settings.
Previews and Drafts
Section titled “Previews and Drafts”When you create an announcement, it will be saved as a draft. You can edit this announcement at any time before sending. You can also send a preview of your announcement to yourself to confirm it looks good. The email preview will be prefilled with the data from one of the recipients that matches the filter you selected.
Previewing Your Announcement
Section titled “Previewing Your Announcement”Use the Preview button in the editor to see how your announcement will look once sent.
The preview uses your Markdown formatting and variables to show a live example of the final email.
You can also send a test email to yourself to confirm how it appears in your inbox — this is the best way to verify layout, formatting, and links across different email clients.
Sending your Announcement
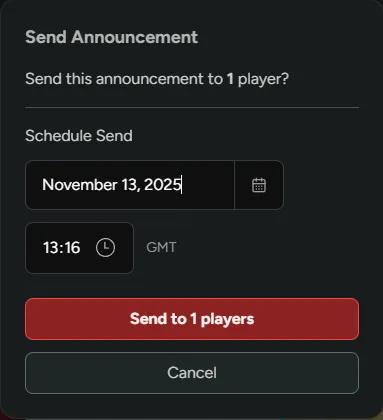
Section titled “Sending your Announcement”The last step is scheduling when your announcement should be sent.
Send Now
Section titled “Send Now”Select the Send Now button to have the email go out immediately. Recipients start receiving it within a few minutes.
Schedule
Section titled “Schedule”Select Schedule to select a date and time in the future for the email to go out. The timezone you’re using to schedule will default to whatever region you’re in.
Automate Core
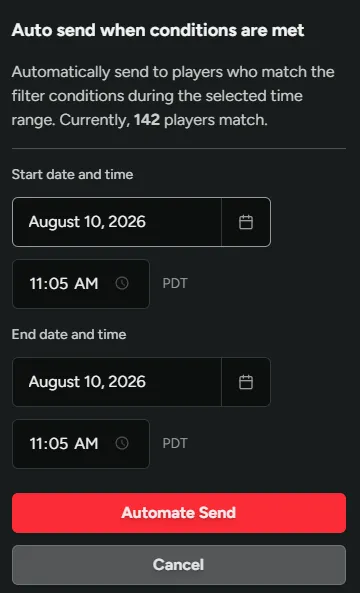
Section titled “Automate ”Schedule a time window to automatically send an email based on the player filters selected.
- Select the Automate button.
- Set a start and end time for the automation.
Players who already match your filters when the automation starts are emailed at that point. From then on, players are emailed as they newly qualify, up until the end time. Each player receives the announcement once, and the automation stops sending after the end time.
Replies
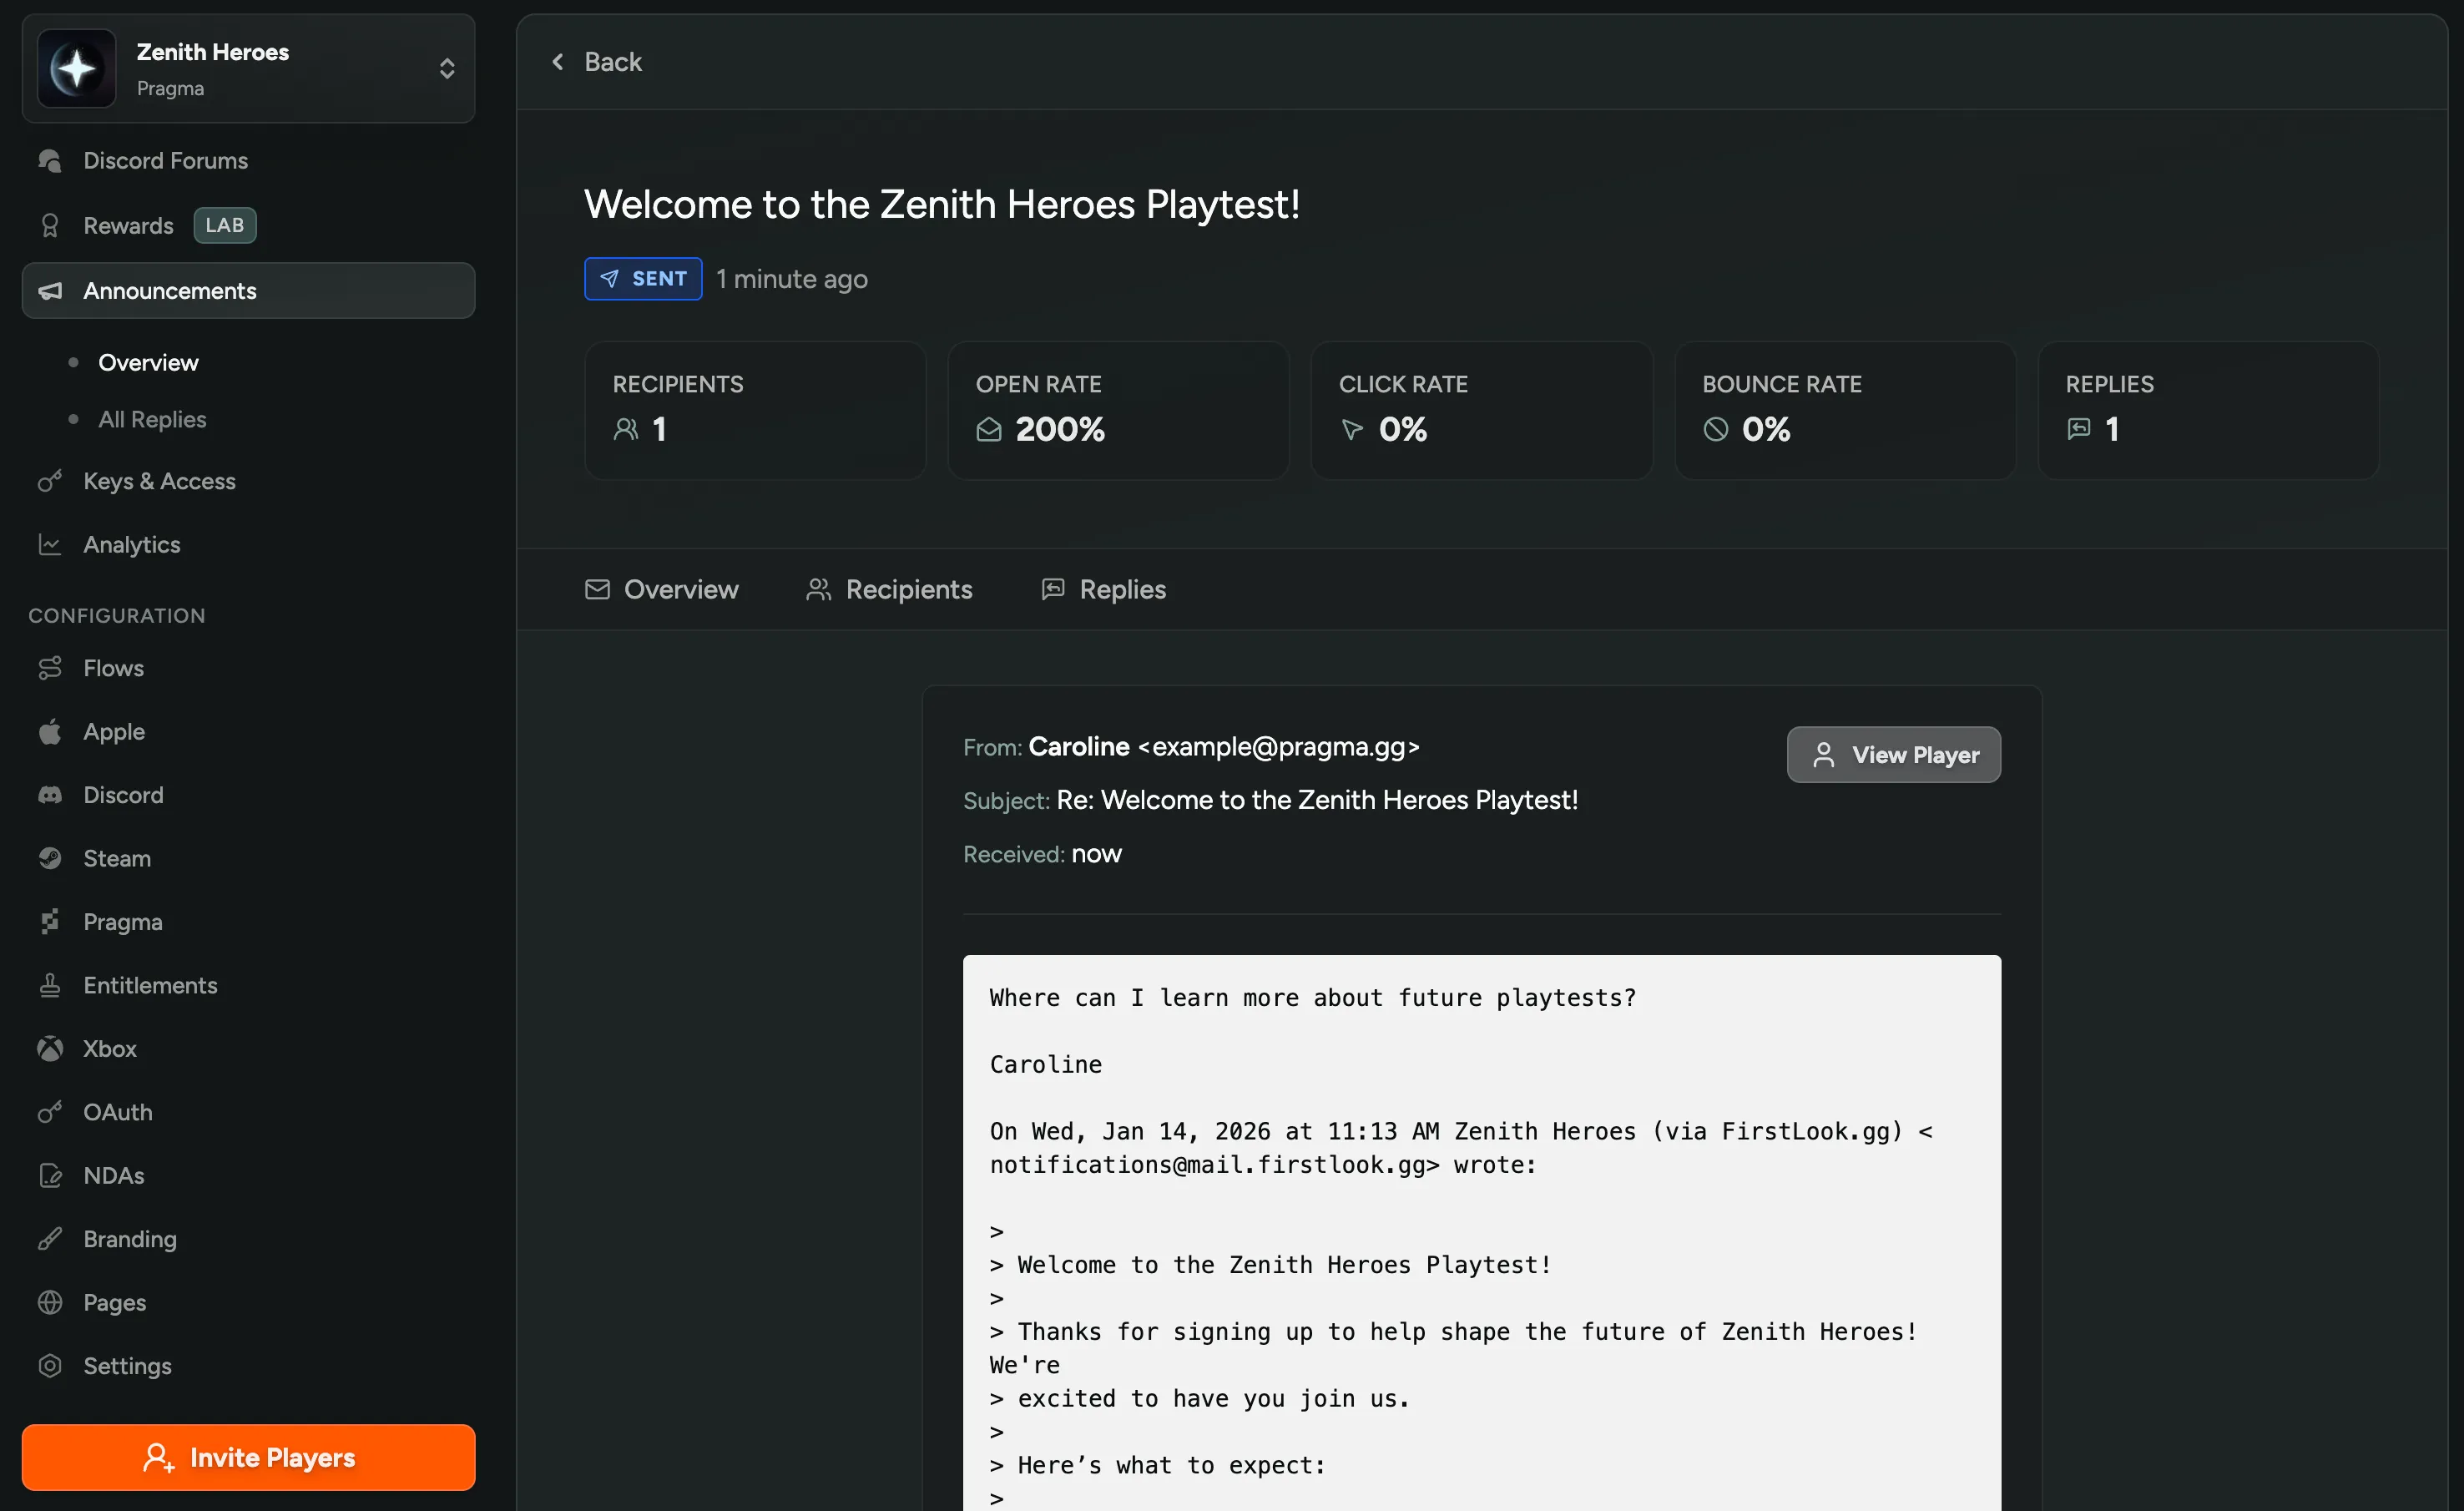
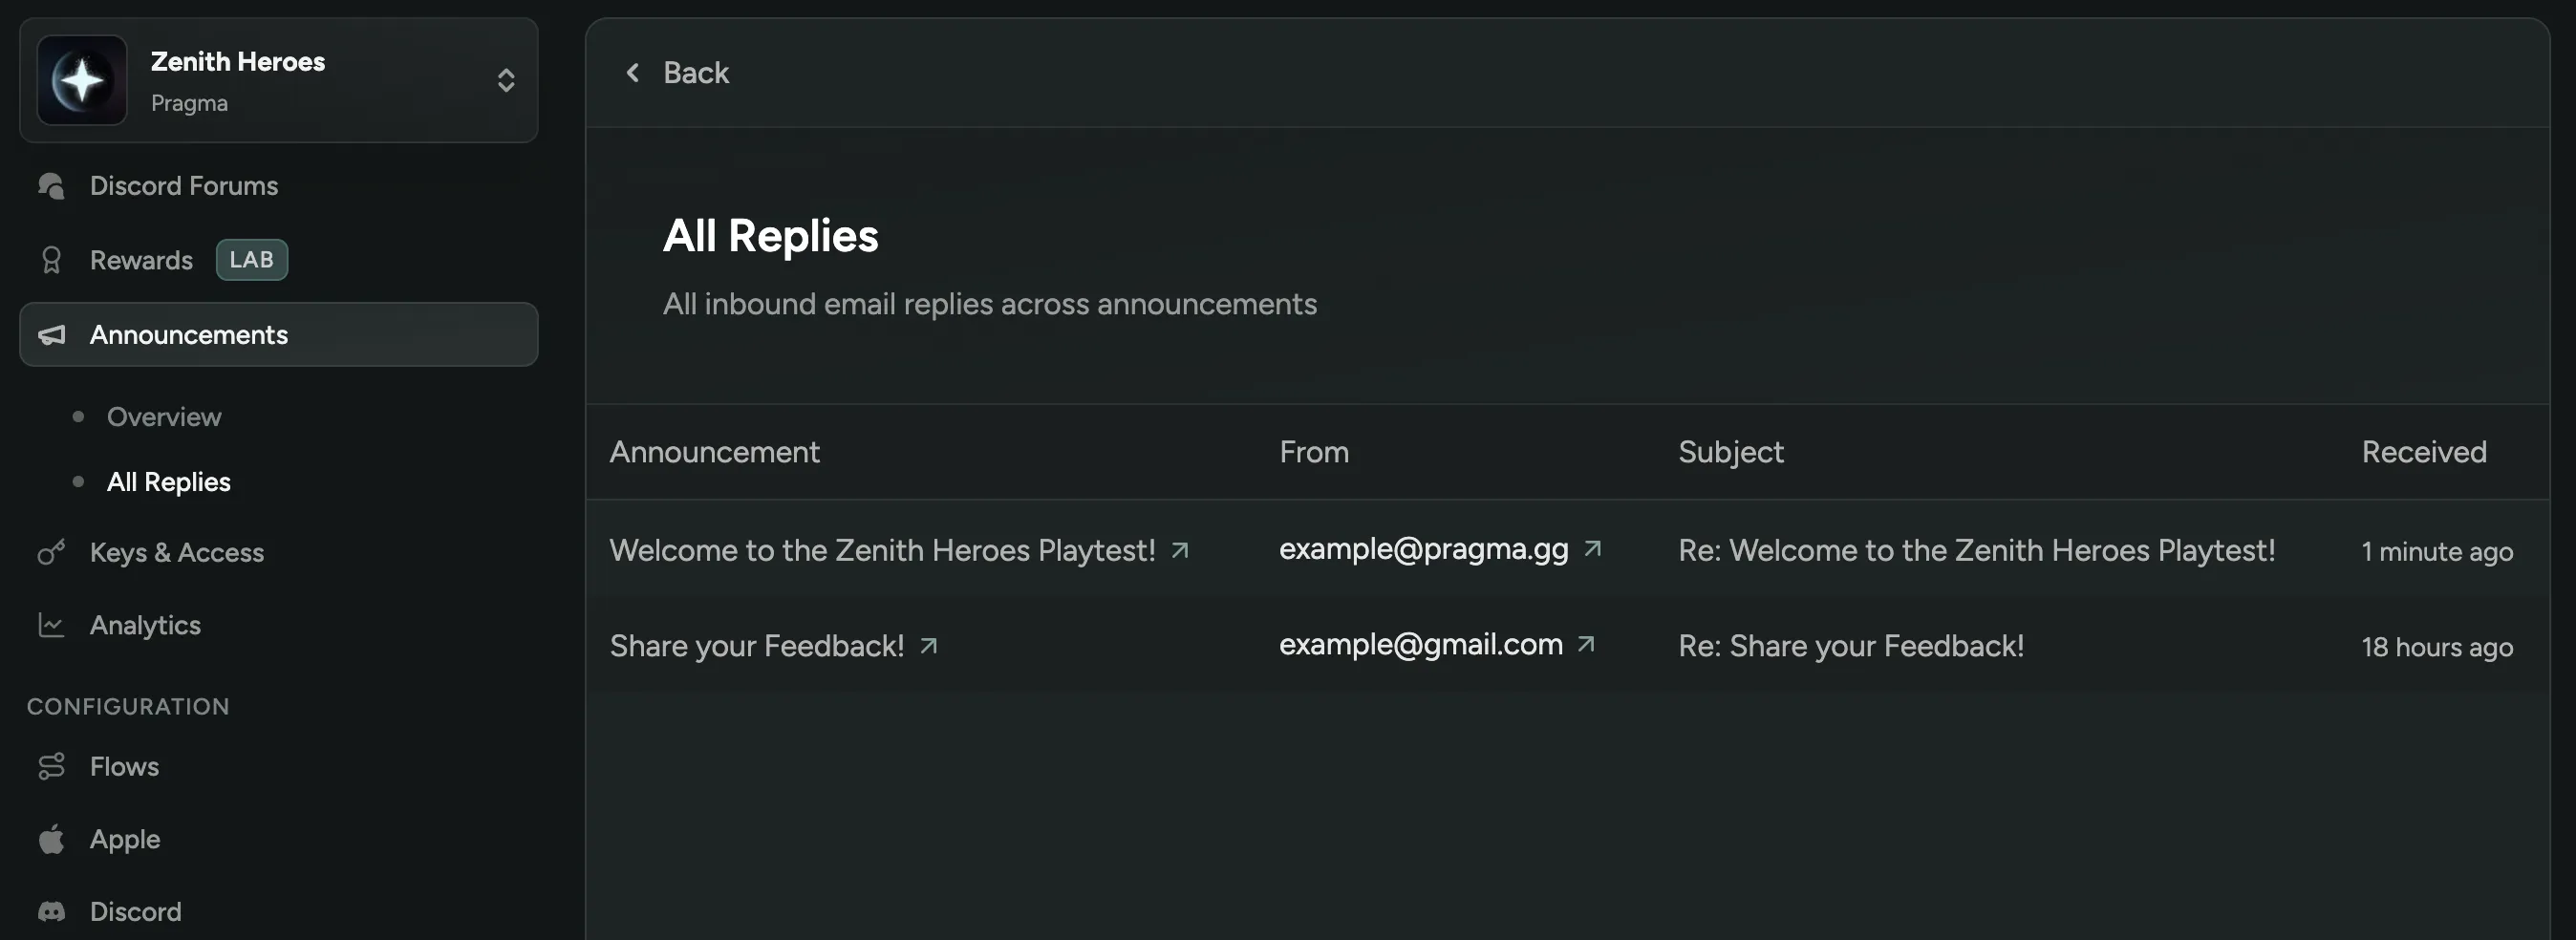
Section titled “Replies”Replies to announcements are visible directly in FirstLook, which makes it incredibly easy to monitor feedback from one place. For replies to individual announcements, just select the desired announcement and click Replies. You can also view everything under the All Replies tab.
Conversion Tracking
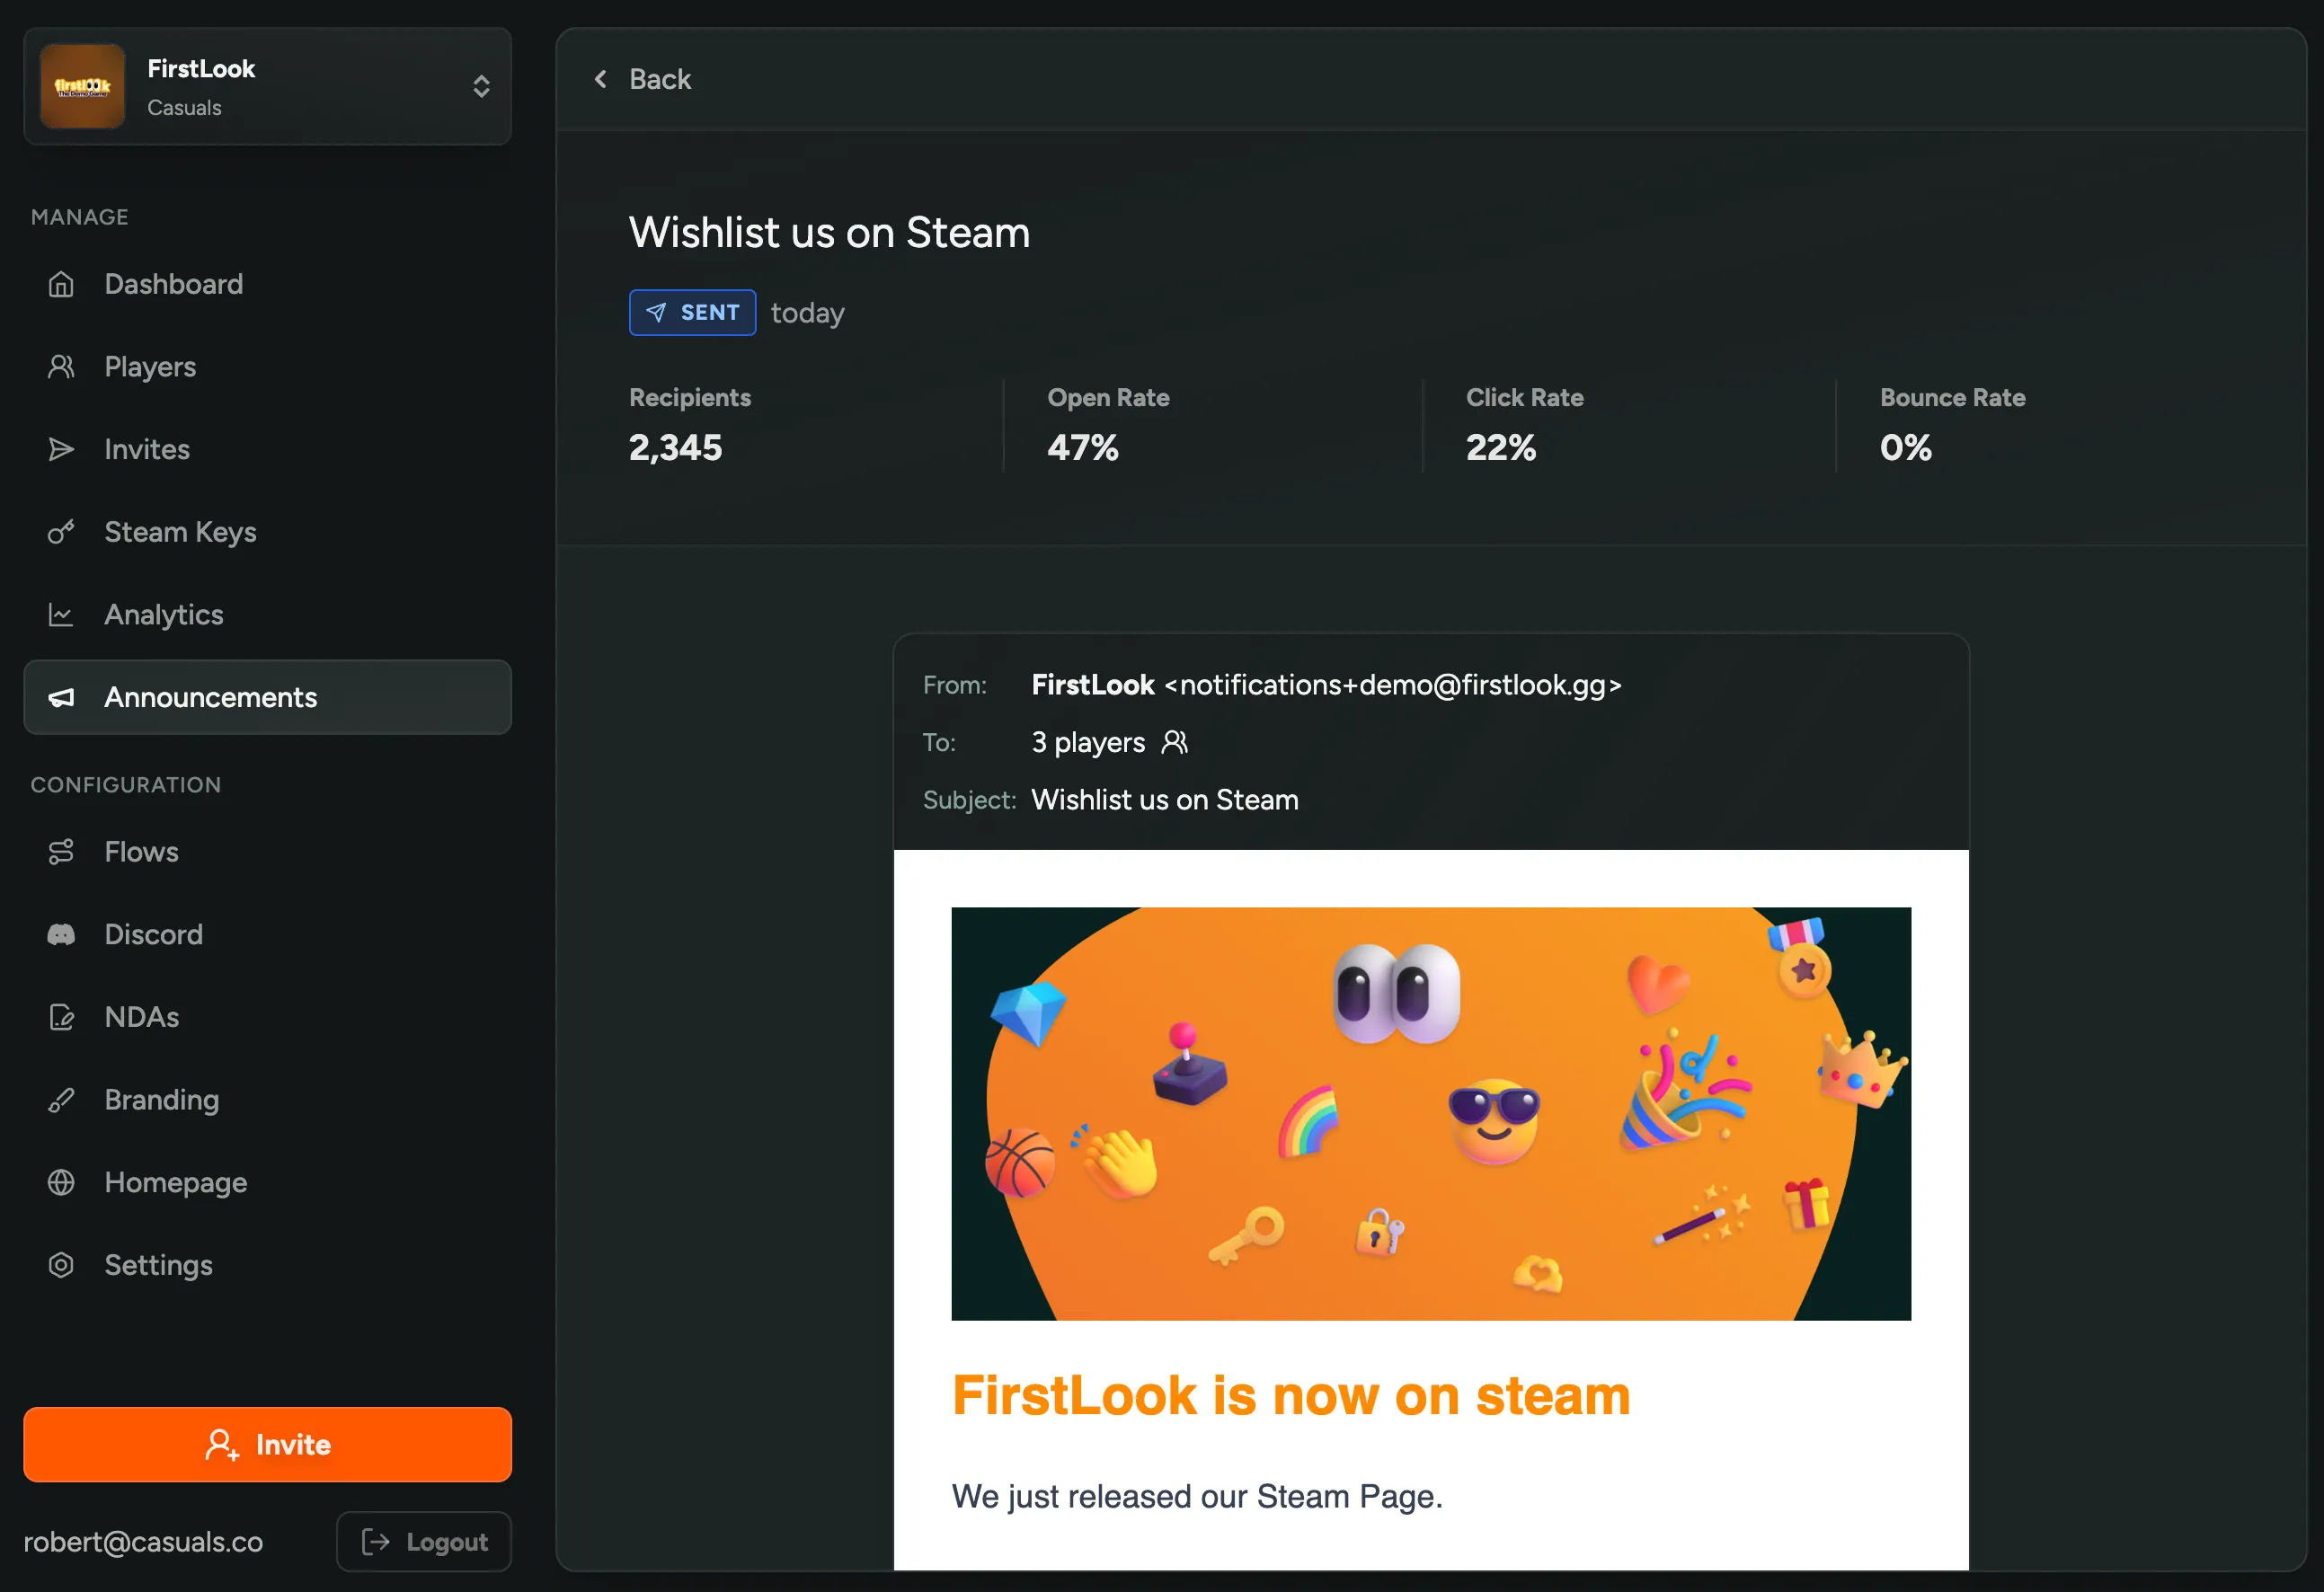
Section titled “Conversion Tracking”After sending, you can track open and click rates to measure engagement.