Invites: Codes, Batches, Email, Conditions
There are multiple ways for players to join your playtest, including Sign-Up Links, Invite Codes, Friend Invites, and from the game via the FirstLook SDK.
How the waitlist and invites work
Section titled “How the waitlist and invites work”With the waitlist enabled, every player who completes sign-up lands on the Waitlist with the Waitlist status. Inviting them — by any of the methods below — moves them to Invited and sends the invite email (unless you choose to suppress it). Invited players skip the Sign-Up step entirely and go straight to Onboarding. Players who started sign-up but didn’t finish show as Pending. See Players for the full list of player states.
If the waitlist is disabled in your flow, there’s no queue to invite players from — they continue straight to onboarding after signing up. You can toggle this on the Waitlist step of your flow.
Invite by Email
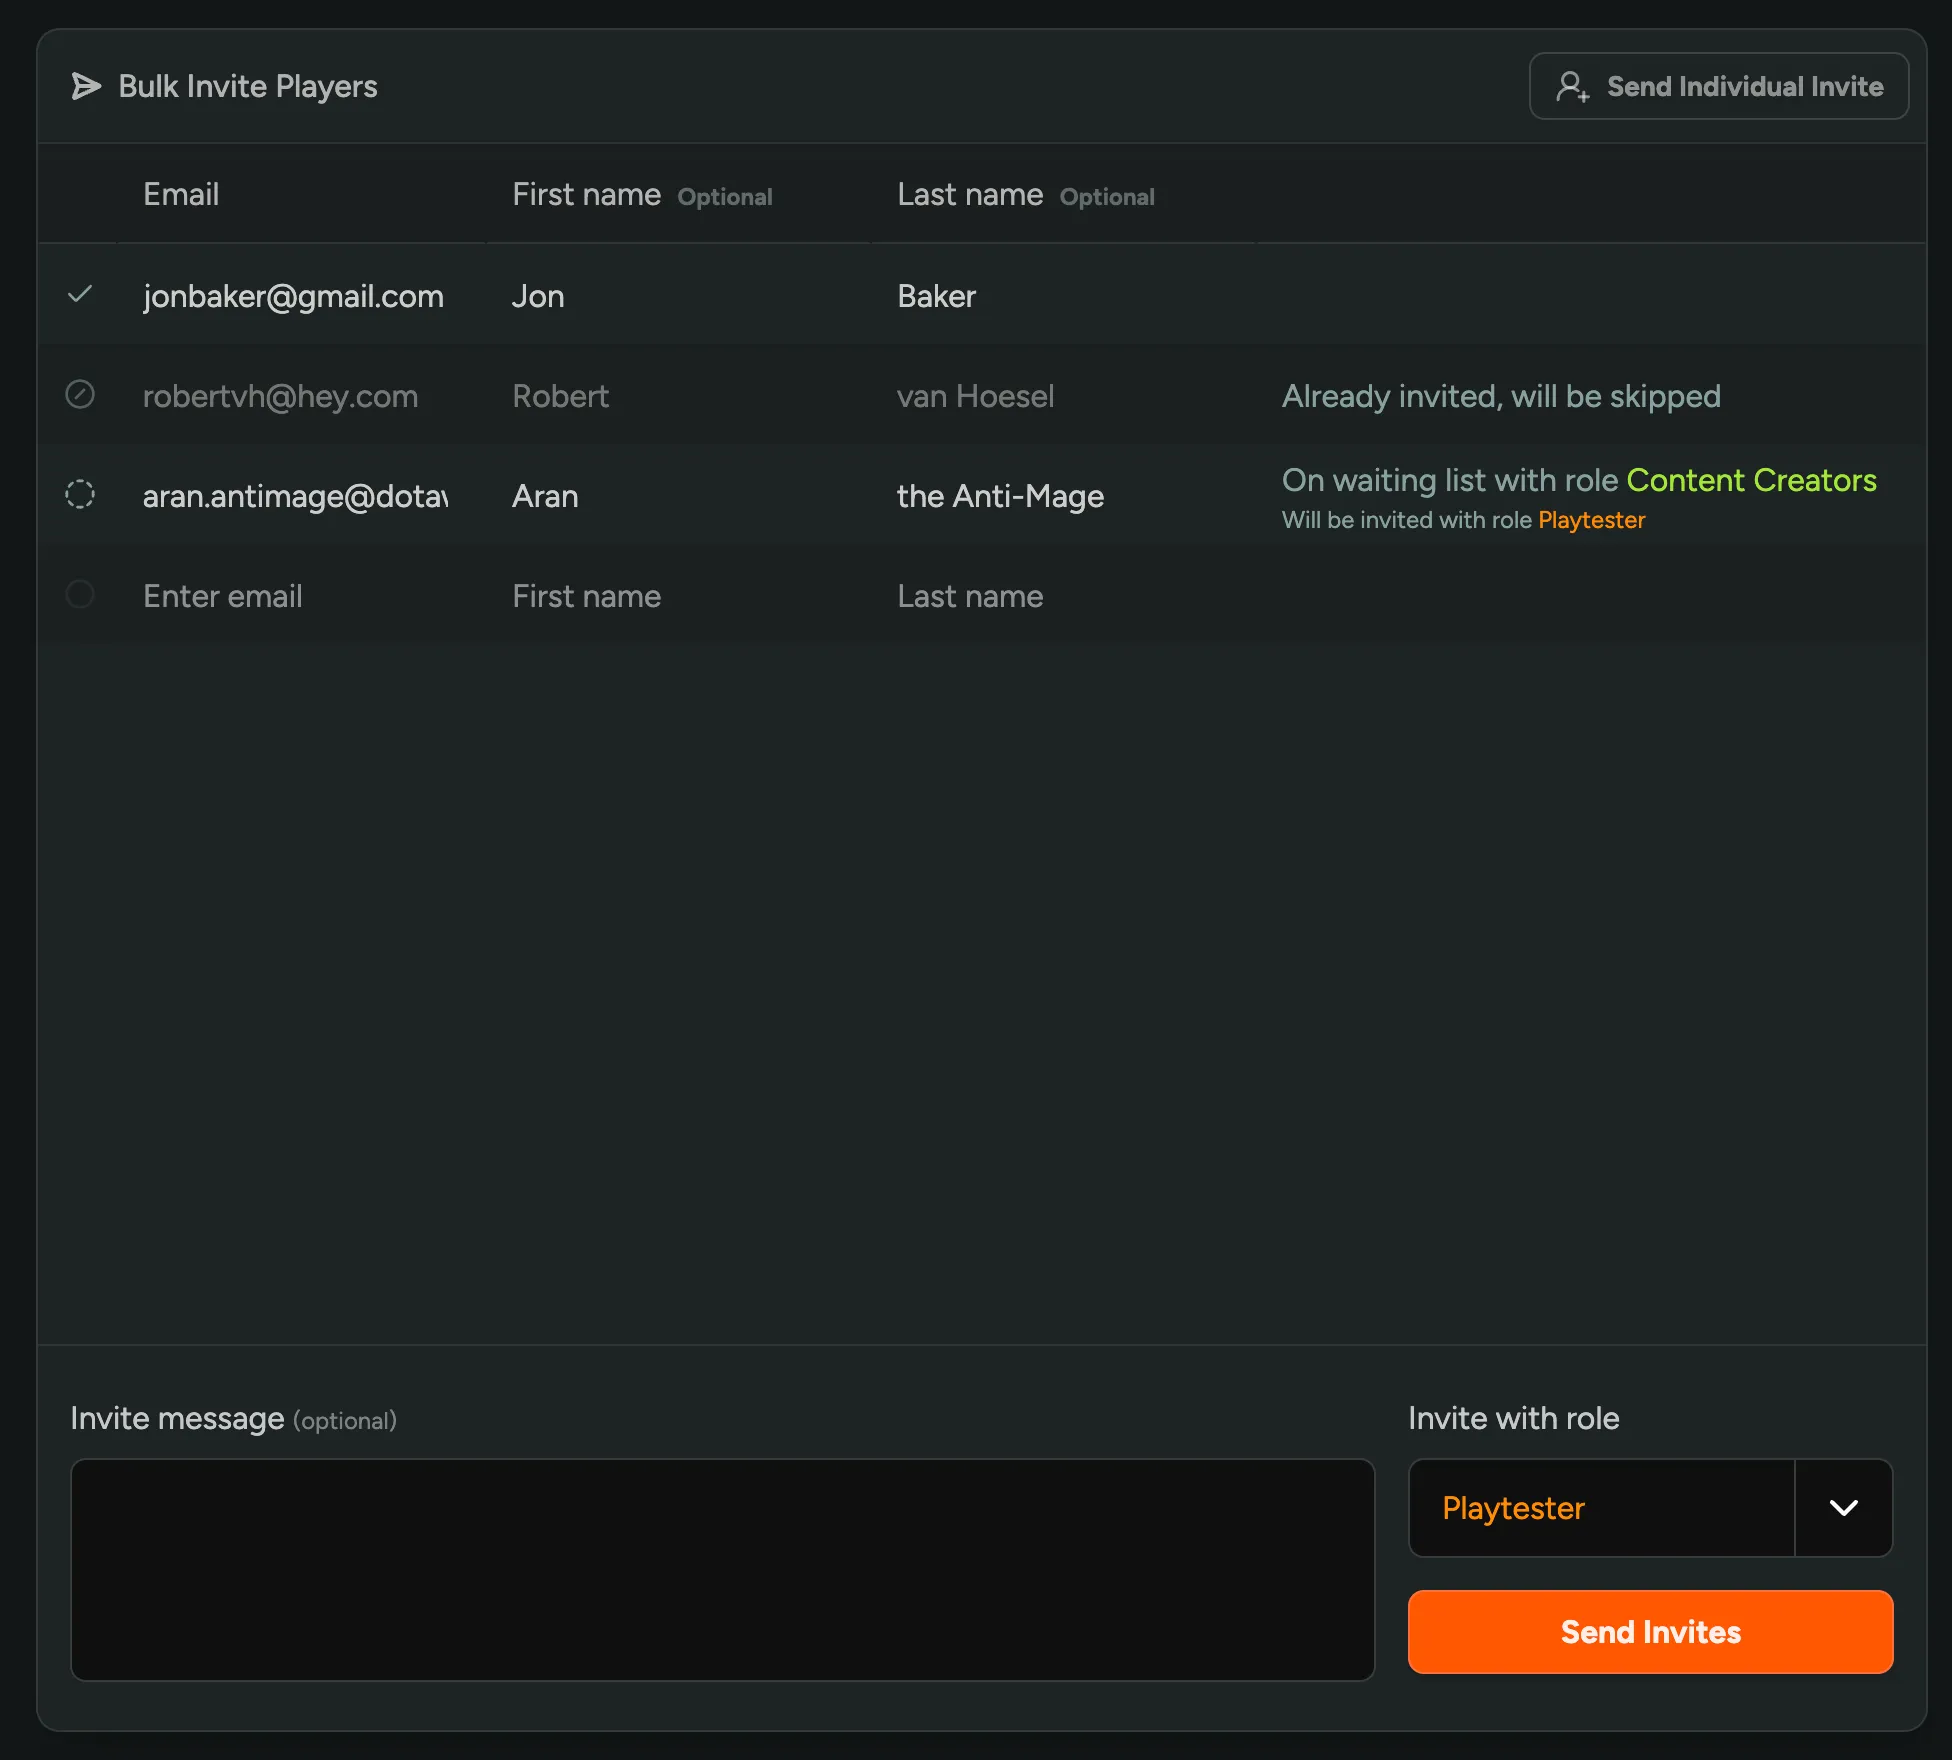
Section titled “Invite by Email”We’ve made it extremely simple to invite players via email. Either from the bottom left corner of the screen, click “Invite Players” or select “Invite” → “Invite by Email” from the sidebar. Enter one or more email addresses - Optionally, you can also add their First Name and Last Name.
Select the Role you want to assign to the player from the dropdown and click “Send Invites”.
You can optionally add custom ‘Invite Message’ which will be included in the email sent to the player.
Bulk Invite
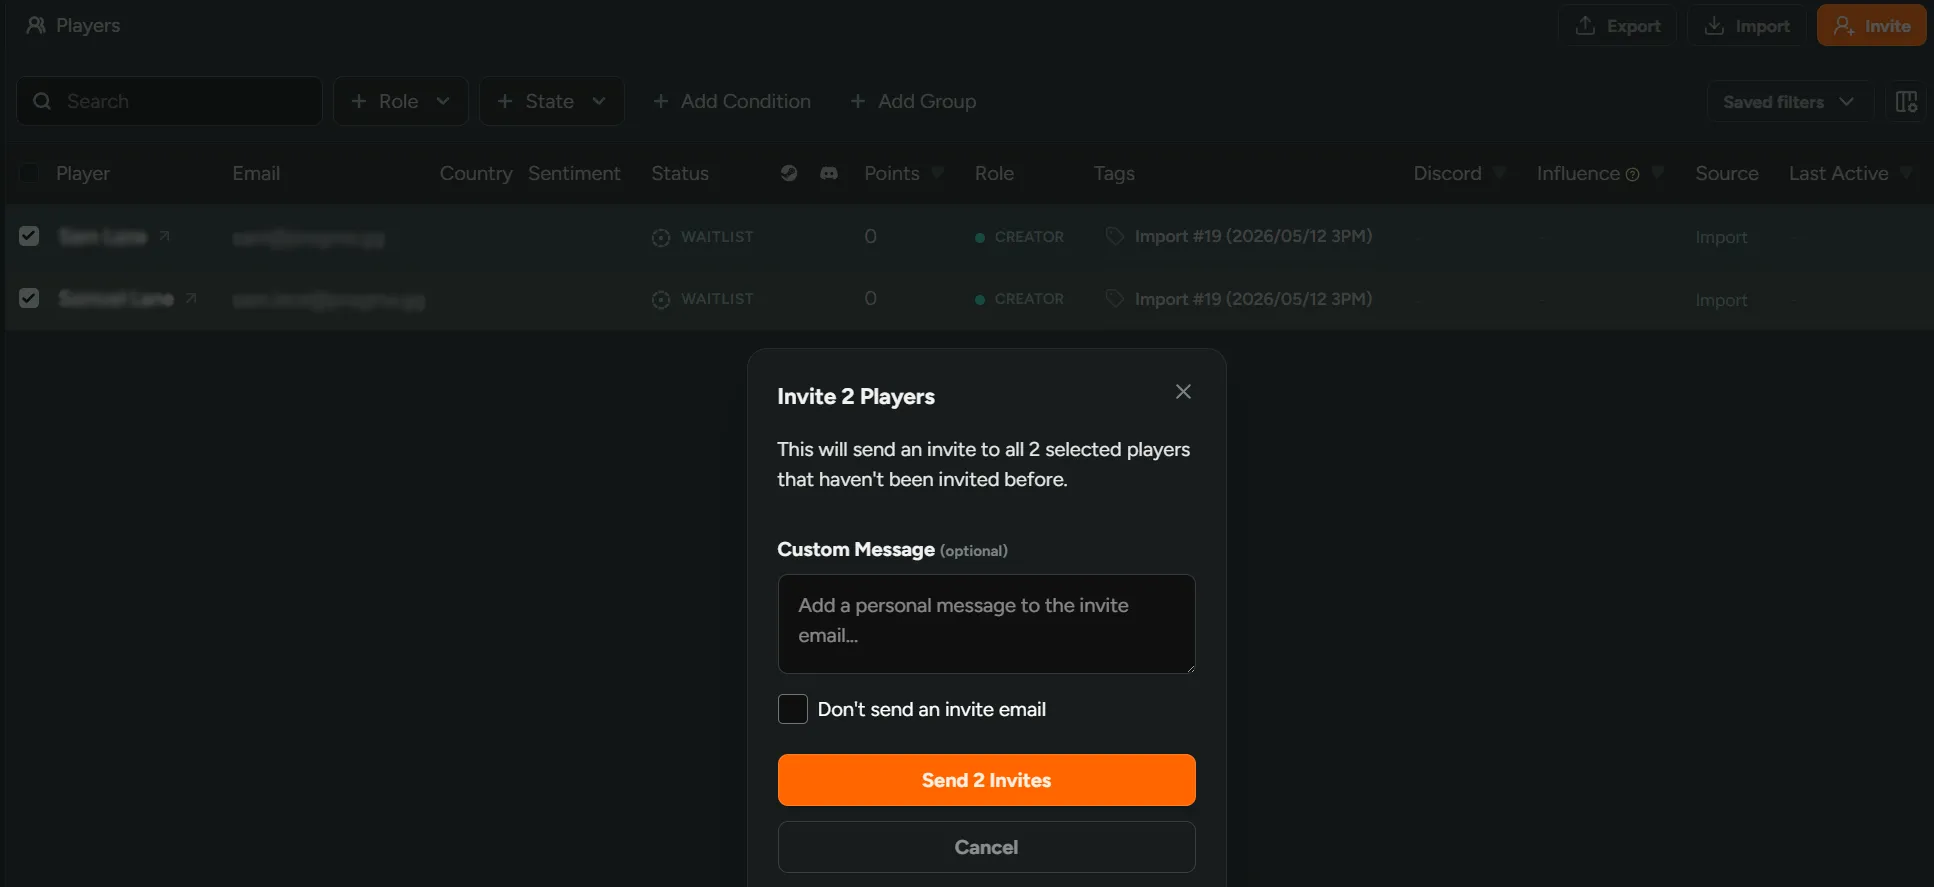
Section titled “Bulk Invite”You may want to send invites directly from the Players tab. This let’s you use the filter bar to narrow down the list of people you want to invite. Check the boxes of those players you wish to include. Once you’re happy with the selection, click ‘Invite’ to send invites to everyone selected.
This is a great way to invite specific cohorts based on as many conditions needed.
Don't send an invite email- tick to stop the default email notification.
Large bulk invites continue processing in the background, so you don’t need to keep the page open.
Codes are a great way for you to create one-time or multiple-use shareable links that will grant players an immediate invite to your playtest.
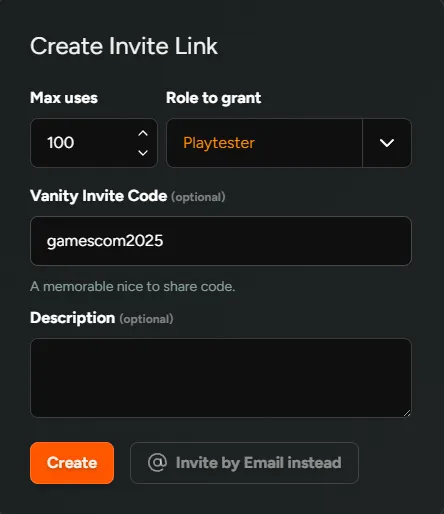
To create a new code, navigate to the Invite tab → Create Shareable Link.
One-time
Section titled “One-time”Really helpful for those times where you might want to invite someone, but don’t have their email address, and sending a link would be much easier - Select 1 as the “Max uses”.
Multiple use
Section titled “Multiple use”Great for when you need a single link that can be used to invite multiple people. If you’ve got an event coming up or want to distribute invites to your community, this is recommended - Select anything higher than 1 in “Max uses”.
Max uses- number of times it can be used before running out.Vanity Invite Code- customise the URL to be event specific e.g. gamescom2025. This will result in a shareable link e.g. -https://demo.firstlook.gg/invite/gamescom2025.Role to grant- choose the role you wish to grant the invitee.
Batches
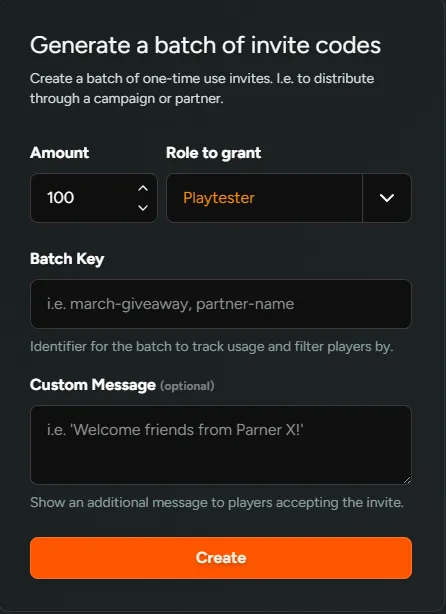
Section titled “Batches”Batches on the other hand are a “batch” of single-use invite codes. These make distributing invites through a campaign or partner nice and straight forward. To find this navigate to Invites → Batches. From here you can view any batches you’ve created, see who’s used the codes within each batch and export them so you can distribute accordingly. To create a new batch click “Generate Batch” .
Amount- Decide on the number of individual invites you want in this batch.Role to grant- Choose the role you wish to grant the invitee.Batch Key- Identifier for the batch to track usage. Can be used to filter players in the Players tab. “+Add Filter” → “More” → “Invite Batch Key”.Custom Message- Display an additional message to players when they accept the invite.
Invite by Conditions
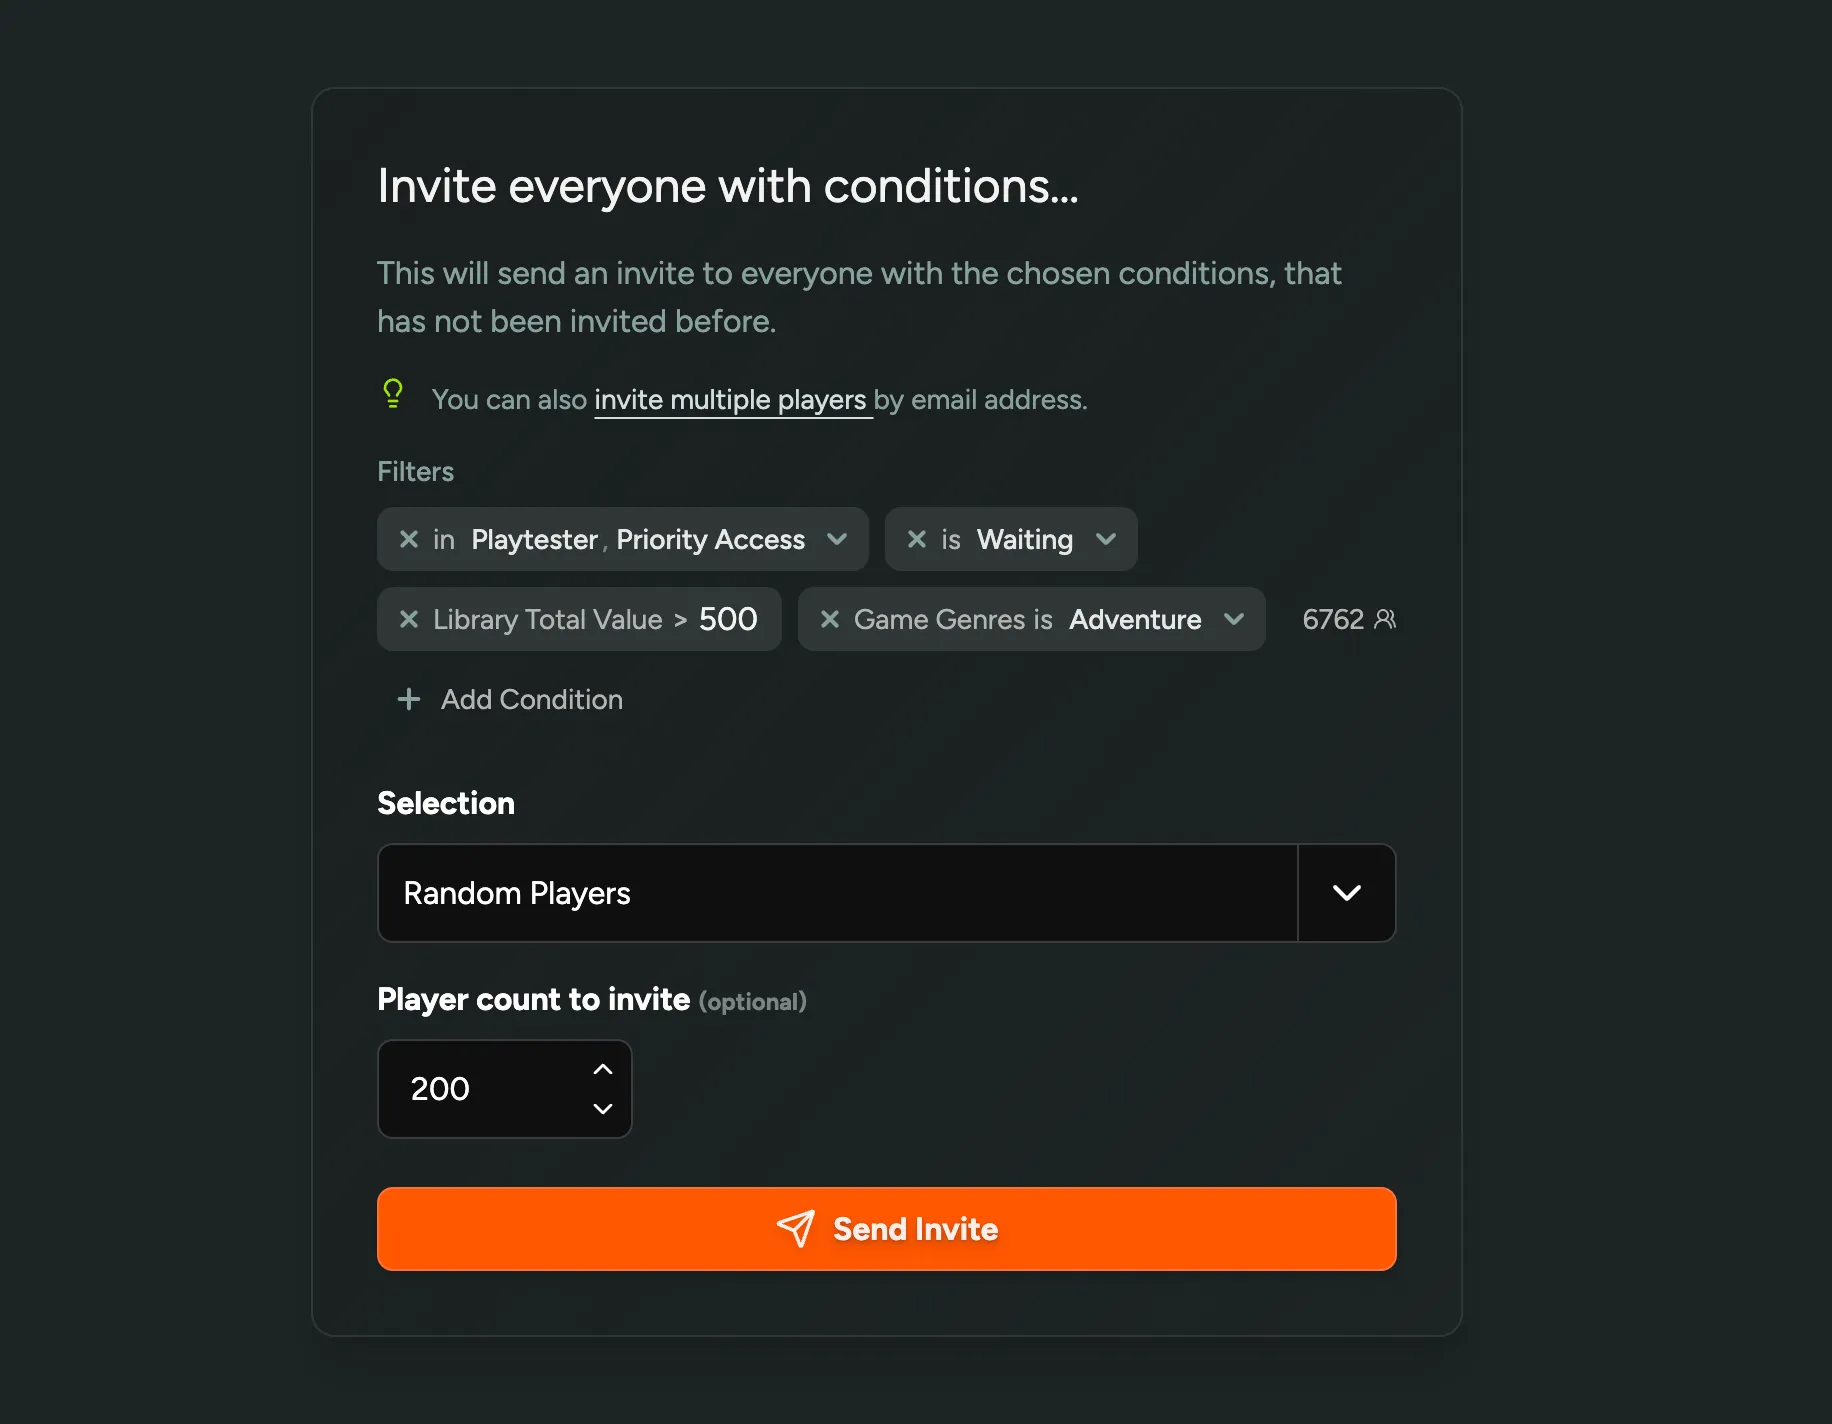
Section titled “Invite by Conditions”For larger waitlists, navigate to ‘Invites’ → ‘Invite by Conditions’ to send invites to everyone who matches a set of filters. Stack any combination of conditions (role, access state, wishlist conditions, library value, custom questions, surveys, country, sign-up date, and more) to narrow the eligible pool down to exactly who you want to reach.
Conditions always target players in Waitlist status. Players who have already been invited are skipped, and you’ll see how many were skipped in the results.
Once you’ve defined your audience, choose how to select who gets invited:
All matching players- invite the full filtered set.Sign-Up Order- invite the first N players by sign-up date, so your earliest sign-ups get in first.Random Players- invite a random N from the matching pool, great for staggered rollouts or capacity-limited playtests.
For either of the last two options, the number you enter can’t exceed the total of matching players. Large batches are processed in the background and might take a few minutes to complete.
Auto-Invite
Section titled “Auto-Invite”Rather than inviting players after the fact, you can let the right players skip the waitlist as they sign up. On a flow’s Waitlist step, define Auto-Invite Conditions using the same filters as Invite by Conditions (sign-up questions, language, country, connected accounts, surveys, and more). Players matching all conditions are invited the moment they sign up, or the next time they return to the waitlist, and go straight into onboarding.
Conditions are never applied retroactively - after saving you’ll see how many currently waiting players match, with a link back to Invite by Conditions to invite them yourself. See Auto-Invite Conditions for the details.
Friend Invites
Section titled “Friend Invites”You can leverage your existing players to invite their friends — and track and reward the referrals they drive. See Referrals & Friend Invites.
Invite via Import
Section titled “Invite via Import”You can also invite players immediately after importing them into the CRM. Go to ‘Players’ → ‘Import’ and select a CSV file. You can map any columns to import, and select whether people should be invited automatically or be placed on the waitlist instead. Existing players will be updated but not invited again. See Import for more info.
From the Game (SDK)
Section titled “From the Game (SDK)”When your game is publicly available and integrated with the FirstLook SDK, players can be created and onboarded directly from the game client. For setup instructions, see the SDK guide for your engine:
Which email is sent when
Section titled “Which email is sent when”As players move through the funnel, FirstLook sends an email at each transition:
| Sent when | |
|---|---|
| Sign-up email | When a player signs up. |
| Waitlist email | When a player joins the waitlist. |
| Invite email | You invite a player. The call-to-action button is the player’s personal login link. |
| Onboarded email | A player finishes onboarding. |
There’s also a confirmation-code email (used to verify a player’s email address) and a new-login email. An additional onboarding-finished email exists but is disabled by default.
The invite email and the welcome email can be customized in your flow configuration — see the Invite and Complete flow steps.